Learn to Connect Apache Netbeans (Development Environment, Tooling Platform and Application Framework) with Apache SparkSQL (Unified engine for large-scale data analytics)
What is Apache Netbeans ?
Fast & Smart Editing
Apache NetBeans is much more than a text editor. It highlights source code syntactically and semantically, lets you easily refactor code, with a range of handy and powerful tools.
Java, JavaScript, PHP, HTML5, CSS, and More
Apache NetBeans provides editors, wizards, and templates to help you create applications in Java, PHP and many other languages.
Cross Platform
Apache NetBeans can be installed on all operating systems that support Java, i.e, Windows, Linux, Mac OSX and BSD. Write Once, Run Anywhere, applies to NetBeans too.
Learn more on Apache Netbeans Website
Check Apache Netbeans Github Repository
What is Apache Spark?
Apache Spark™ is a multi-language engine for executing data engineering, data science, and machine learning on single-node machines or clusters.
Batch/streaming data
Unify the processing of your data in batches and real-time streaming, using your preferred language: Python, SQL, Scala, Java or R
SQL analytics
Execute fast, distributed ANSI SQL queries for dashboarding and ad-hoc reporting. Runs faster than most data warehouses.
Data science at scale
Perform Exploratory Data Analysis (EDA) on petabyte-scale data without having to resort to downsampling
Machine learning
Train machine learning algorithms on a laptop and use the same code to scale to fault-tolerant clusters of thousands of machines.
Apache Spark Github Repository
How to Connect Apache Netbeans with Apache SparkSQL
Step 01: Right click on Databases and choose new connection.

Step 02: Click on New Driver to add Apache SparkSQL JDBC Connection Jar files.

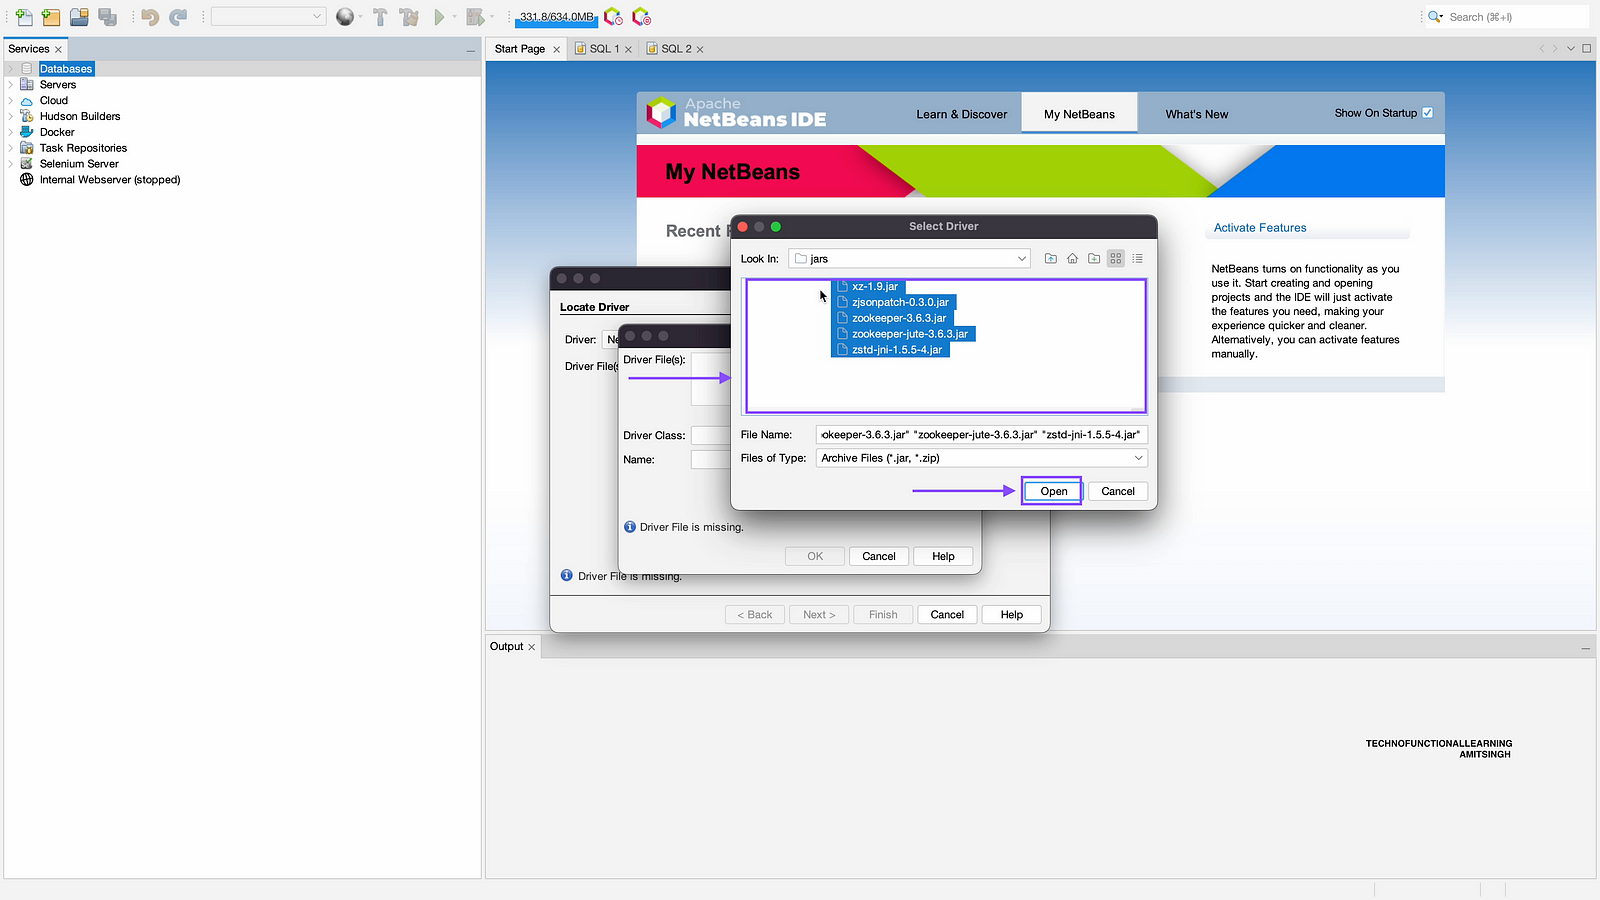
Step 03: Click on add and browse to Apache Spark Jars folder.

Step 04: Add all the jar files from Apache Spark Jar folder.
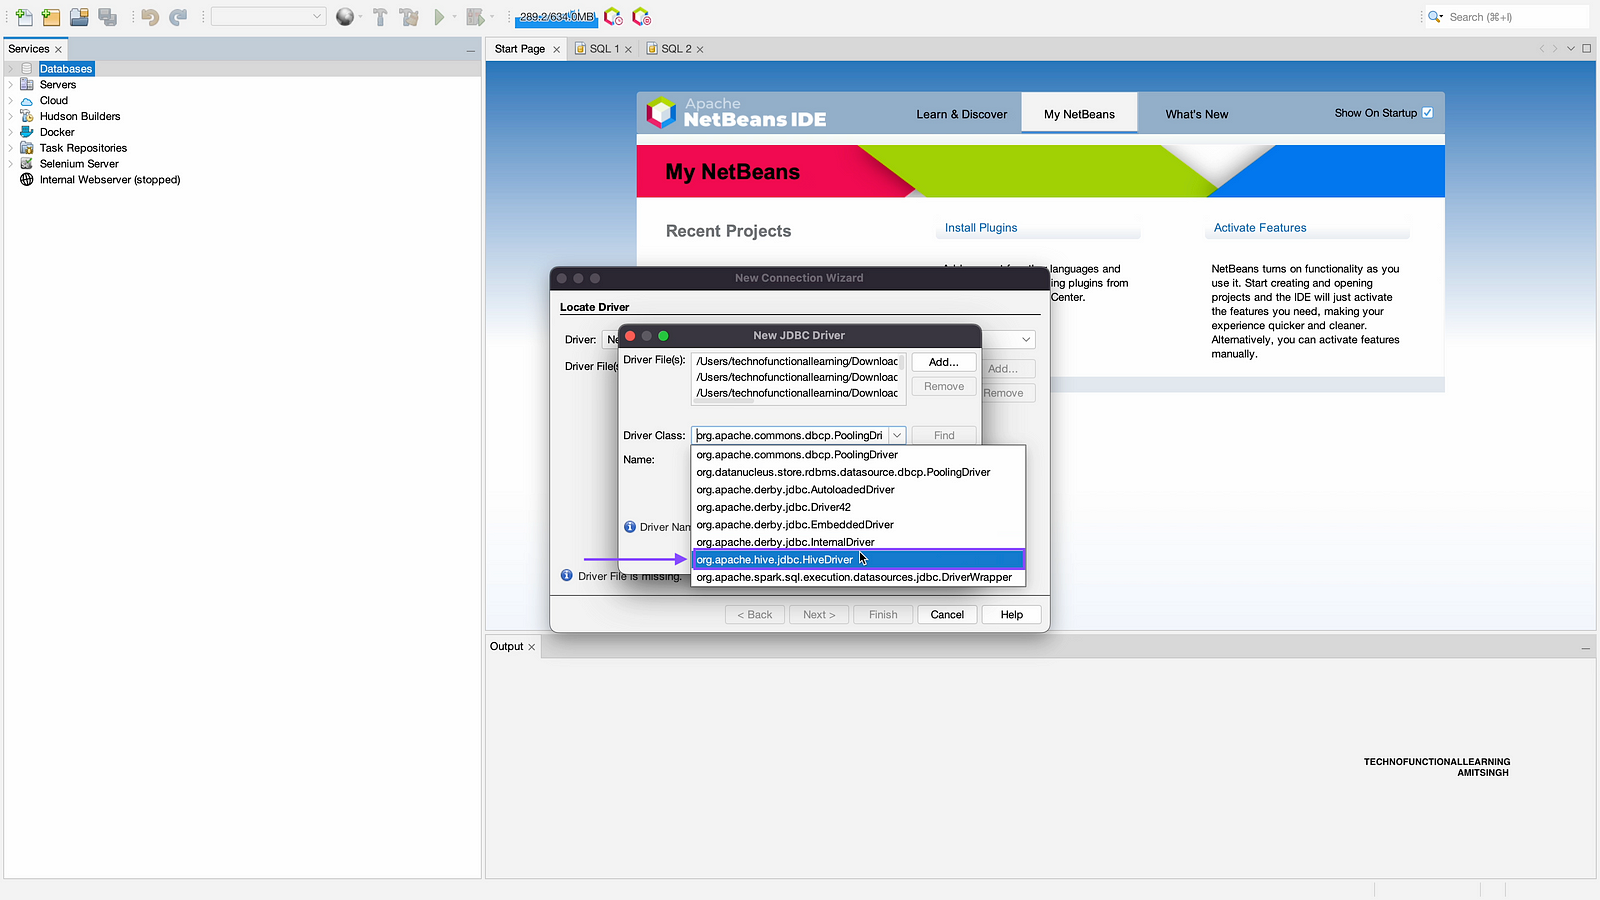
Step 05: Once you add all jar files, then click on Driver class as shown in below screenshot.
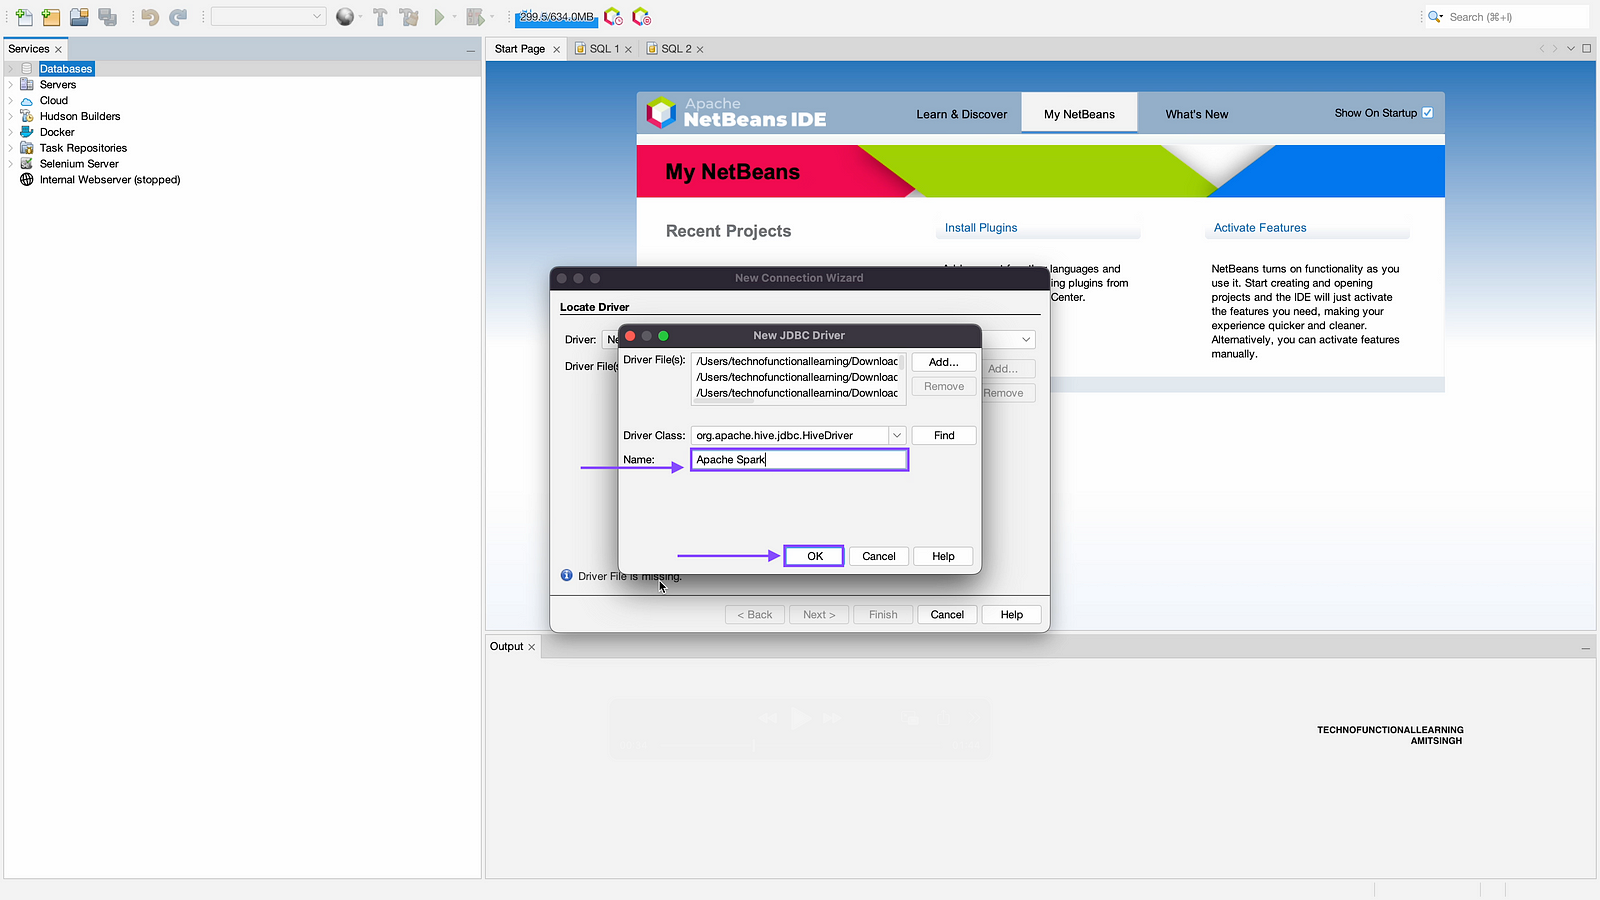
Step 06: Add JDBC driver name as Apache Spark and click on ok.
Step 07: Now click on next.

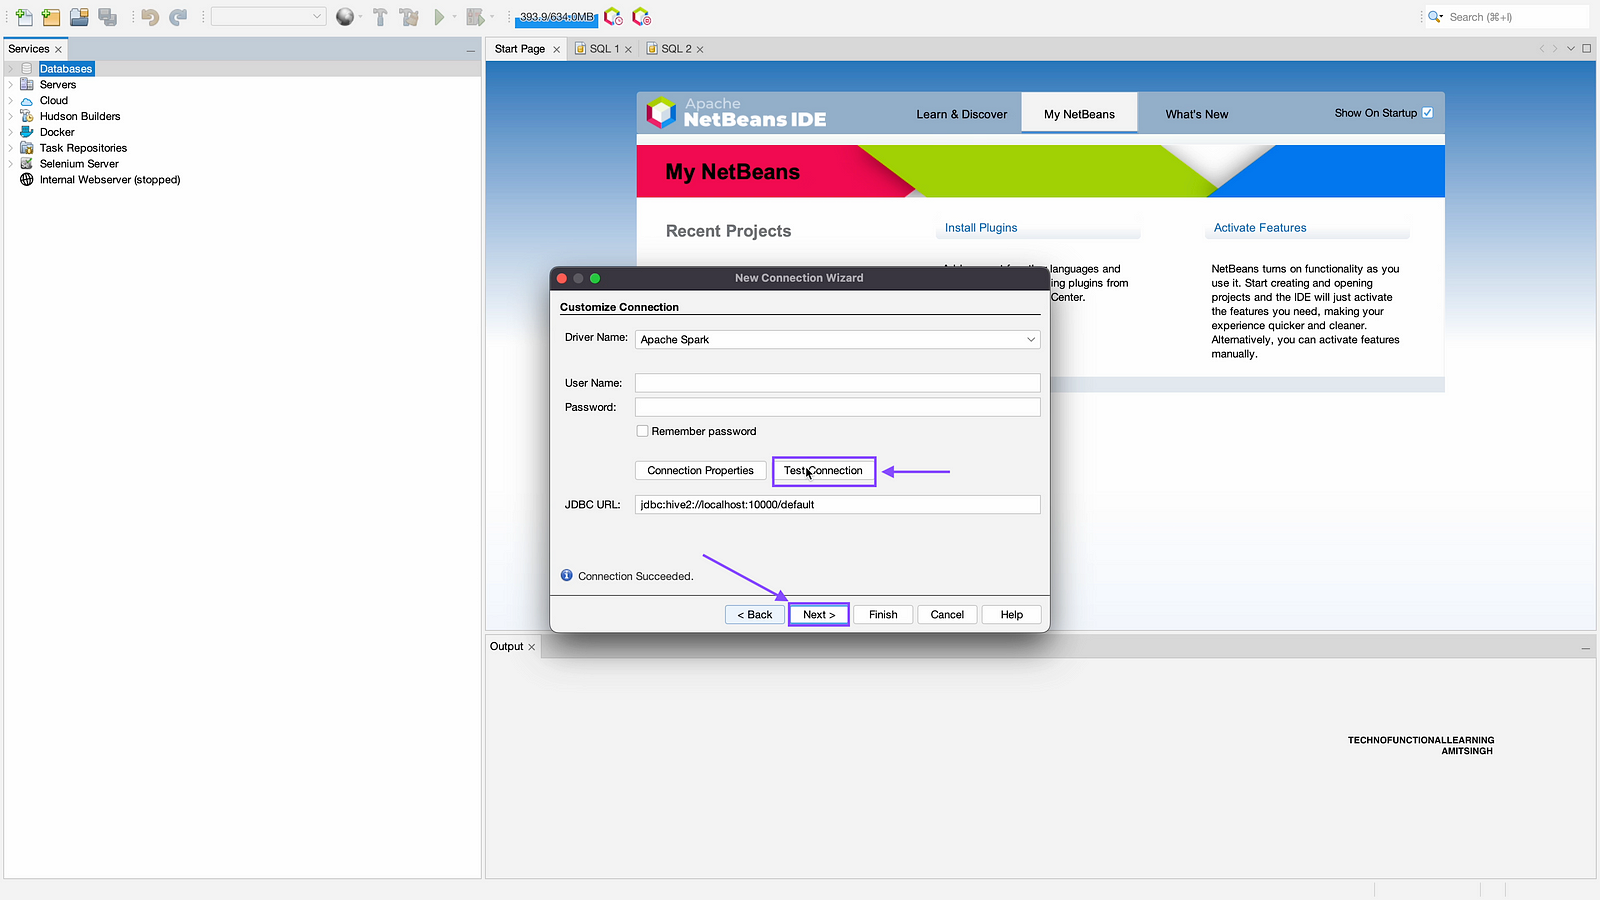
Step 08: Click on Test Connection, Once connection is ok then click on next.
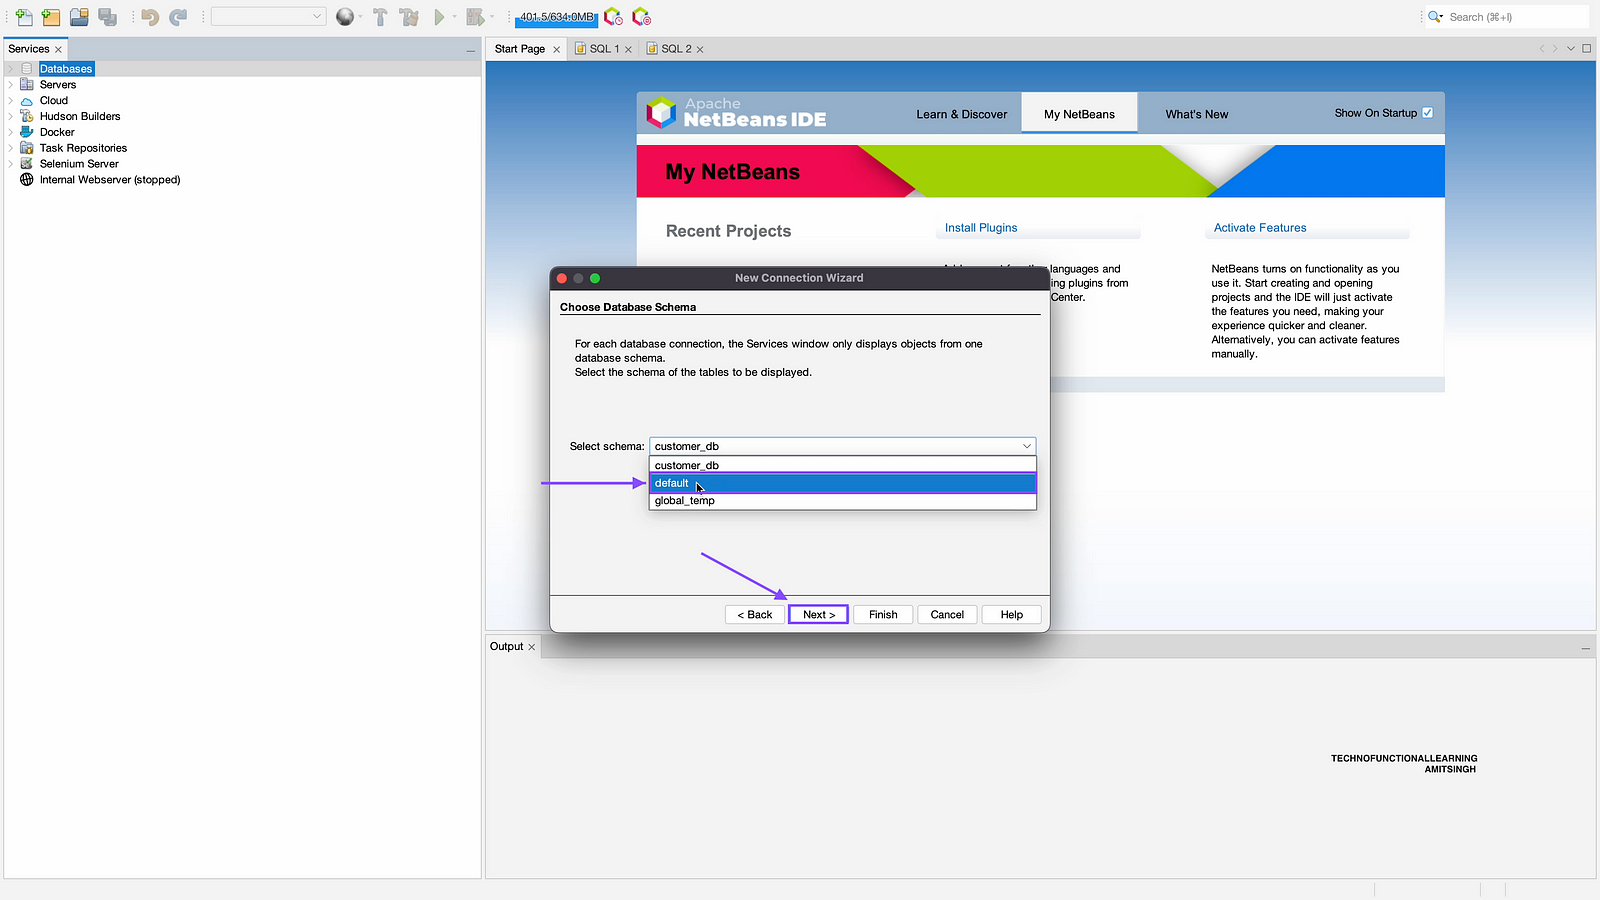
Step 09: Choose your Apache Spark Default database or other database and click on next.
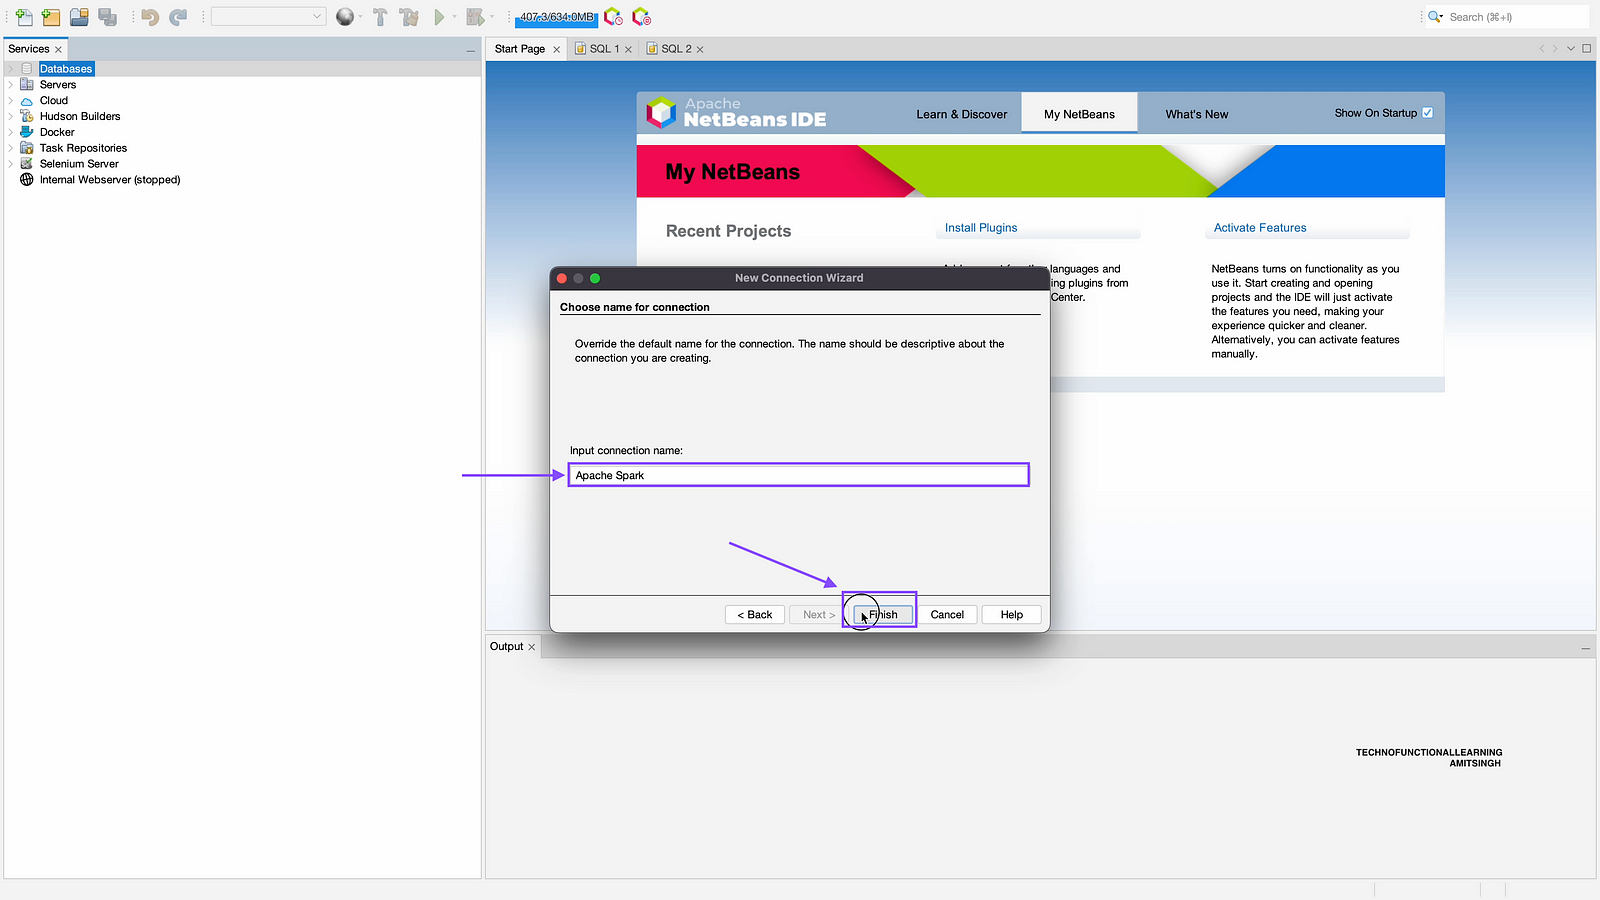
Step 10: Enter your Connection name as Apache Spark and click on Finish.
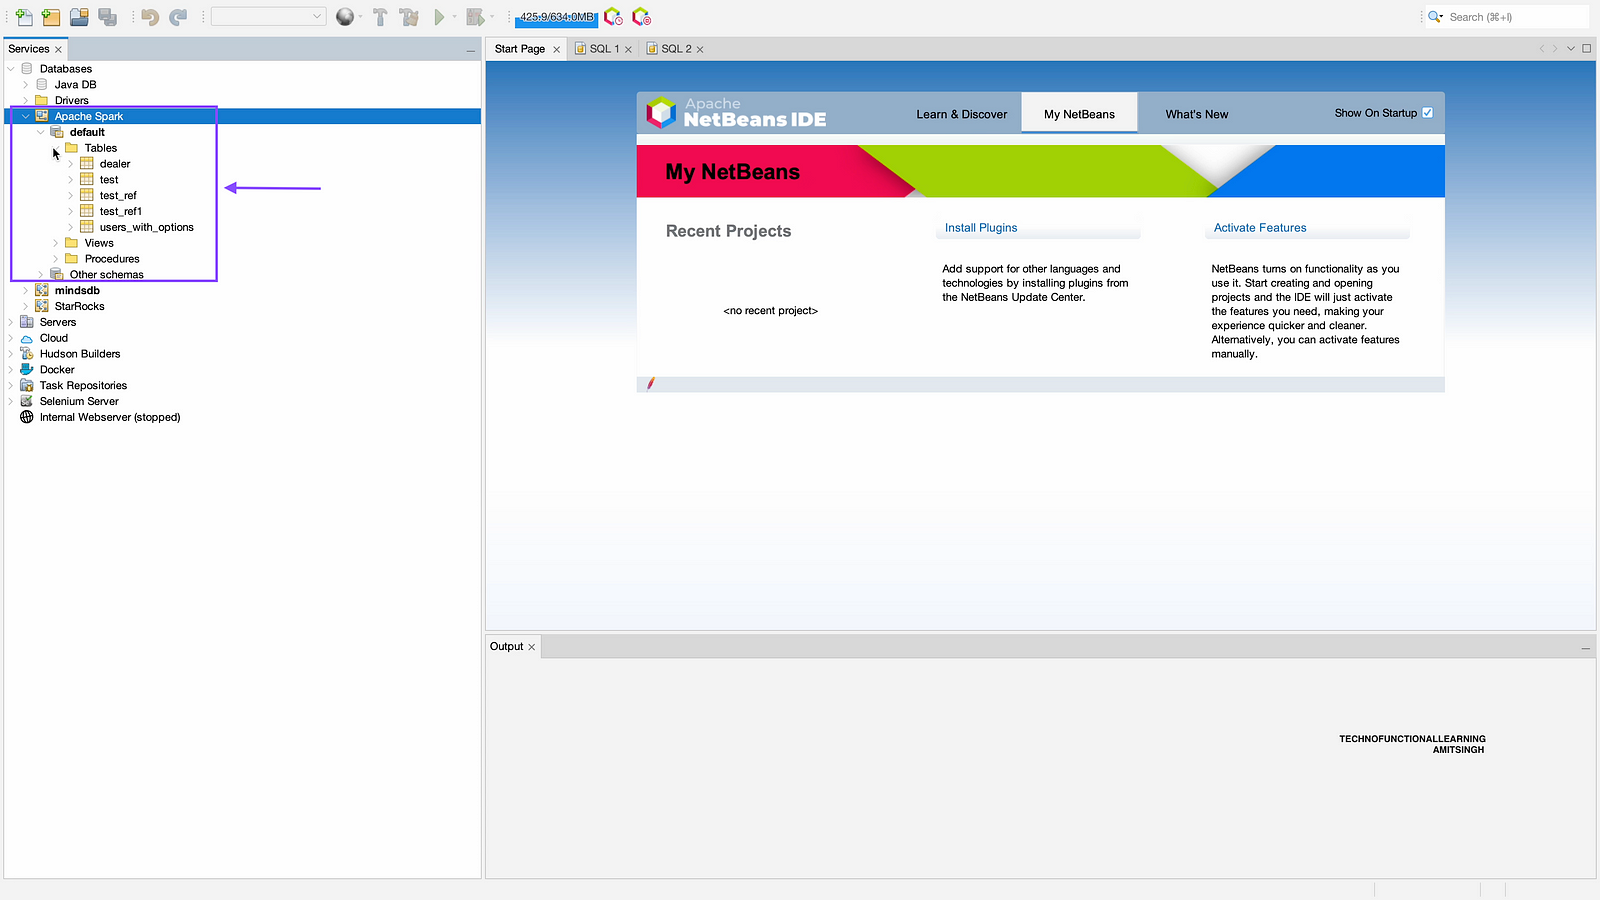
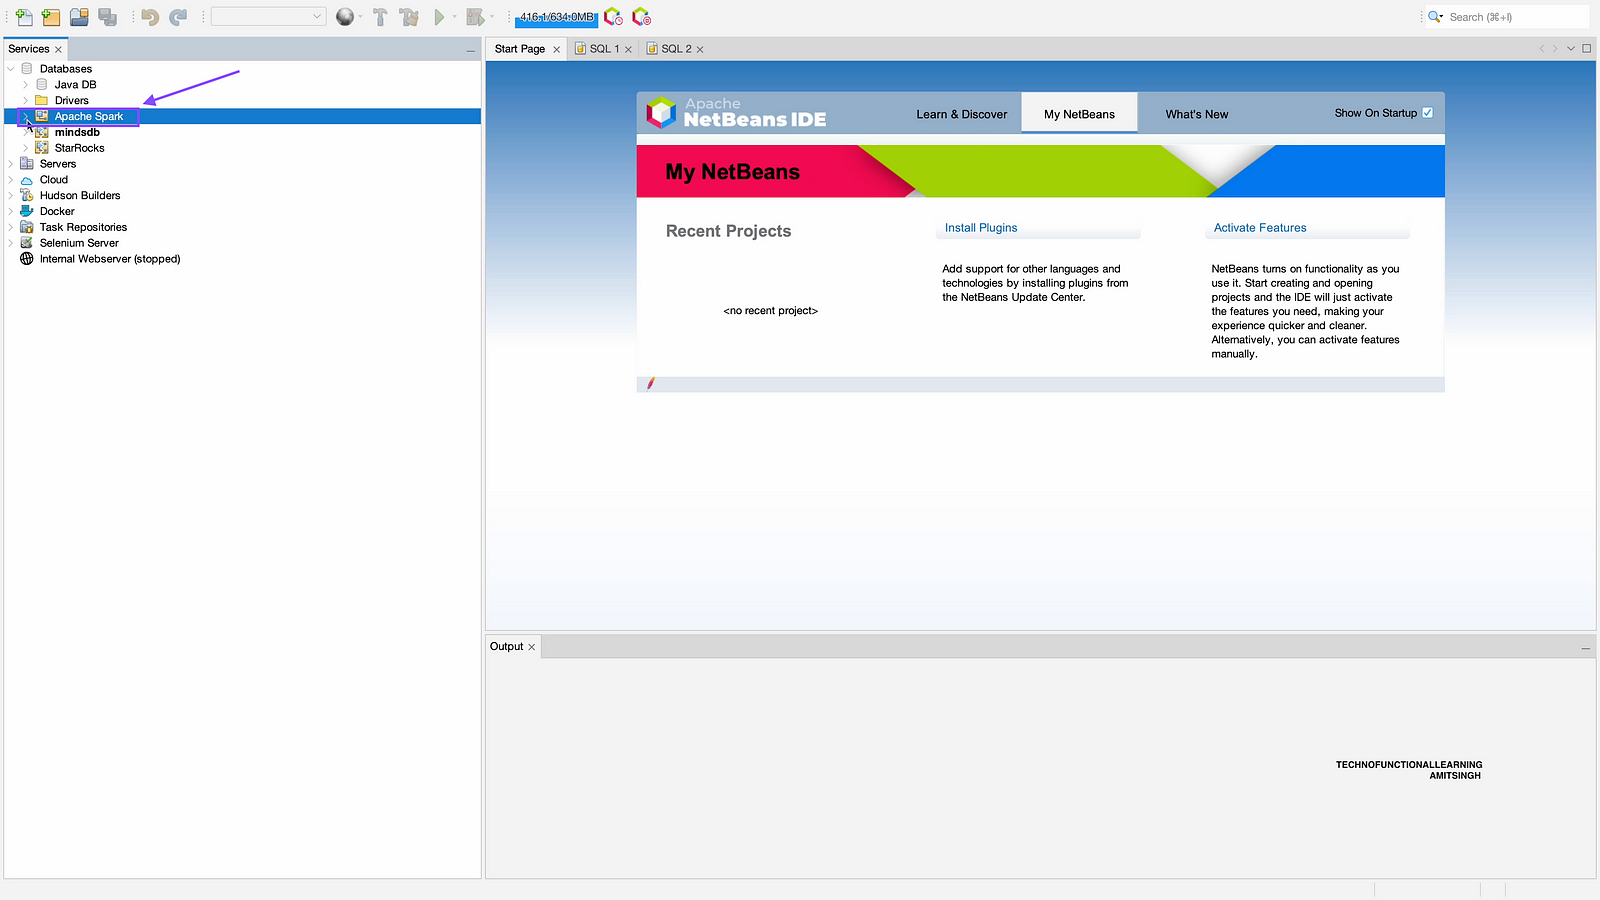
Step 11: Now click on Apache Spark to see databases and tables.
Step 12: Now you can see details of Apache Spark.