Learn to Build and run privateGPT Docker Image on MacOS.
PrivateGPT: Interact with your documents using the power of GPT, 100% privately, no data leaks
PrivateGPT is a production-ready AI project that allows you to ask questions about your documents using the power of Large Language Models (LLMs), even in scenarios without an Internet connection. 100% private, no data leaves your execution environment at any point.
PrivateGPT provides an API containing all the building blocks required to build private, context-aware AI applications. The API follows and extends OpenAI API standard, and supports both normal and streaming responses. That means that, if you can use OpenAI API in one of your tools, you can use your own PrivateGPT API instead, with no code changes, and for free if you are running privateGPT in local mode.
Where is Github Repository?
GitHub — imartinez/privateGPT: Interact with your documents using the power of GPT, 100% privately…
Interact with your documents using the power of GPT, 100% privately, no data leaks — GitHub — imartinez/privateGPT…github.com
Where is Offical website?
PrivateGPT | Docs
PrivateGPT provides an API containing all the building blocks required to build private, context-aware AI applications…docs.privategpt.dev
How to Build private Docker Image of privateGPT
Before we start building docker image, Kindly make sure that you have docker desktop installed on MacOS, if you do not have docker desktop then you can download and install from docker website from below link.
Docker Desktop
Docker Desktop is collaborative containerization software for developers. Get started and download Docker Desktop today…www.docker.com

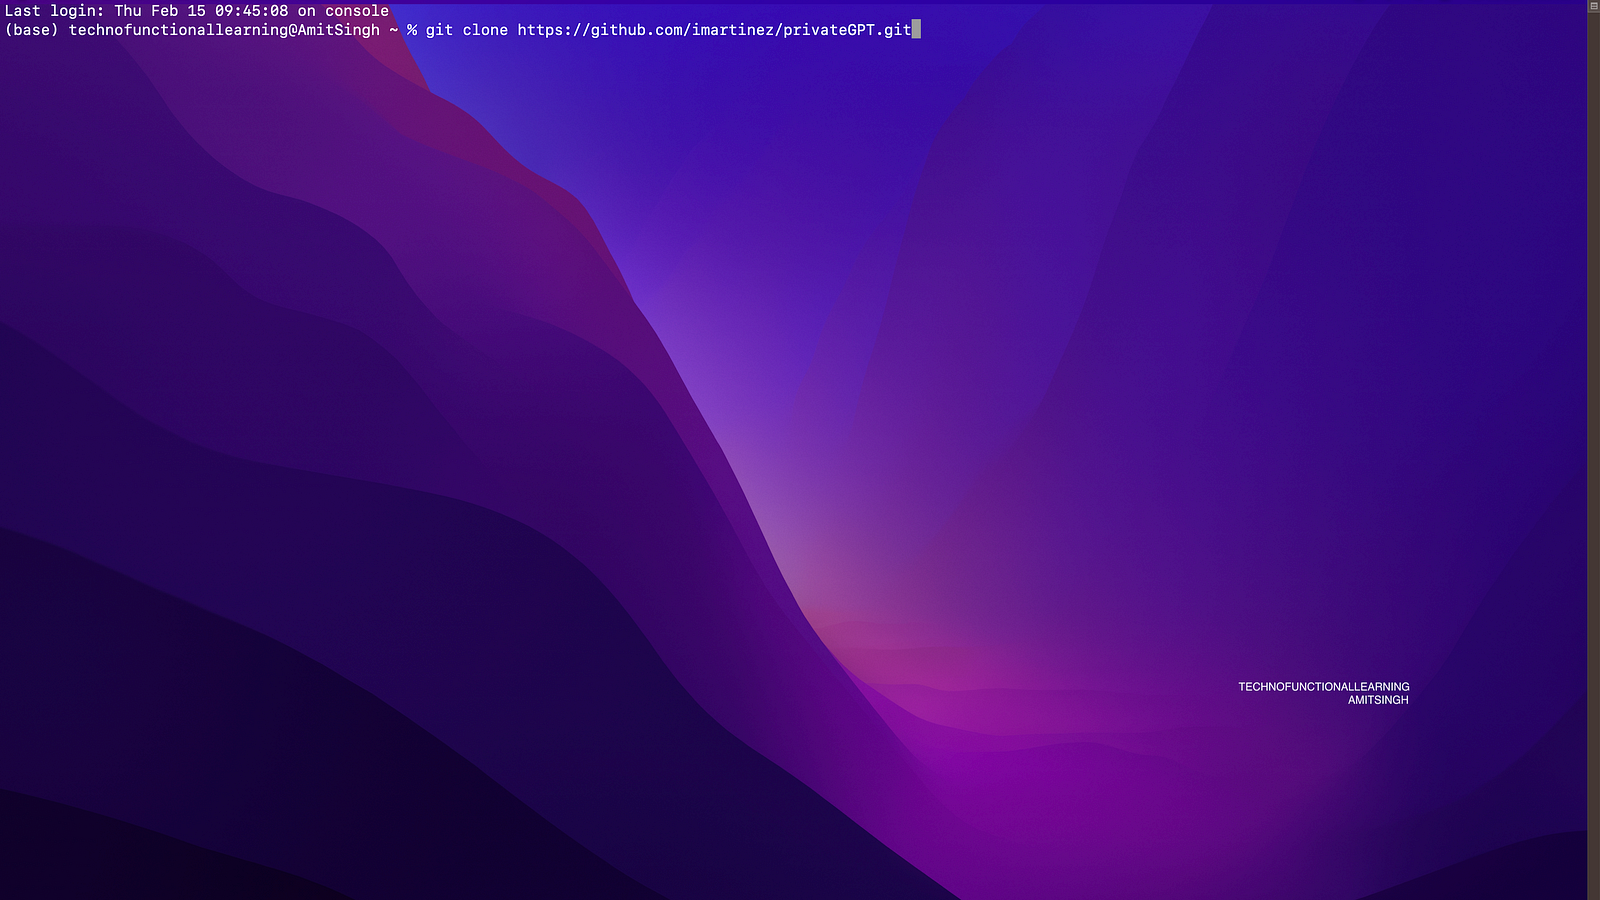
Step 01: Clone the privateGPT repository with below command
git clone https://github.com/imartinez/privateGPT.git
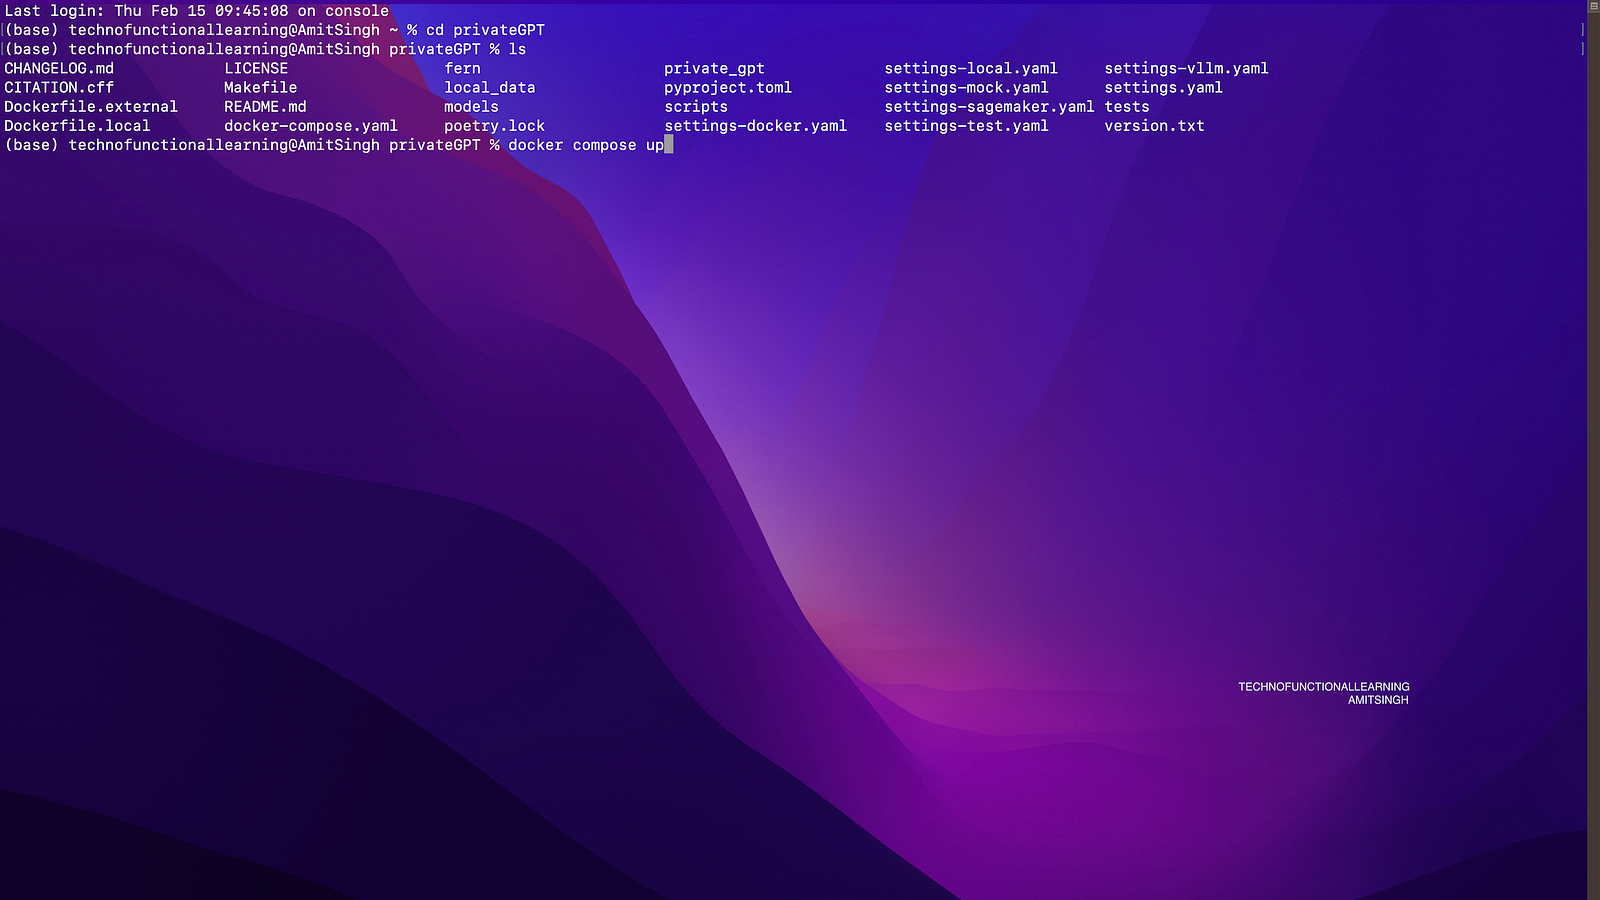
Step 02: Now enter into privateGPT directory and run below command, it will take some time and build docker image, if it gives you error that it is not able to find the models then you can download as per instruction provided on privateGPT website
Installation
Git clone PrivateGPT repository, and navigate to it: Install Python 3.11 (if you do not have it already). Ideally…docs.privategpt.dev
docker compose up
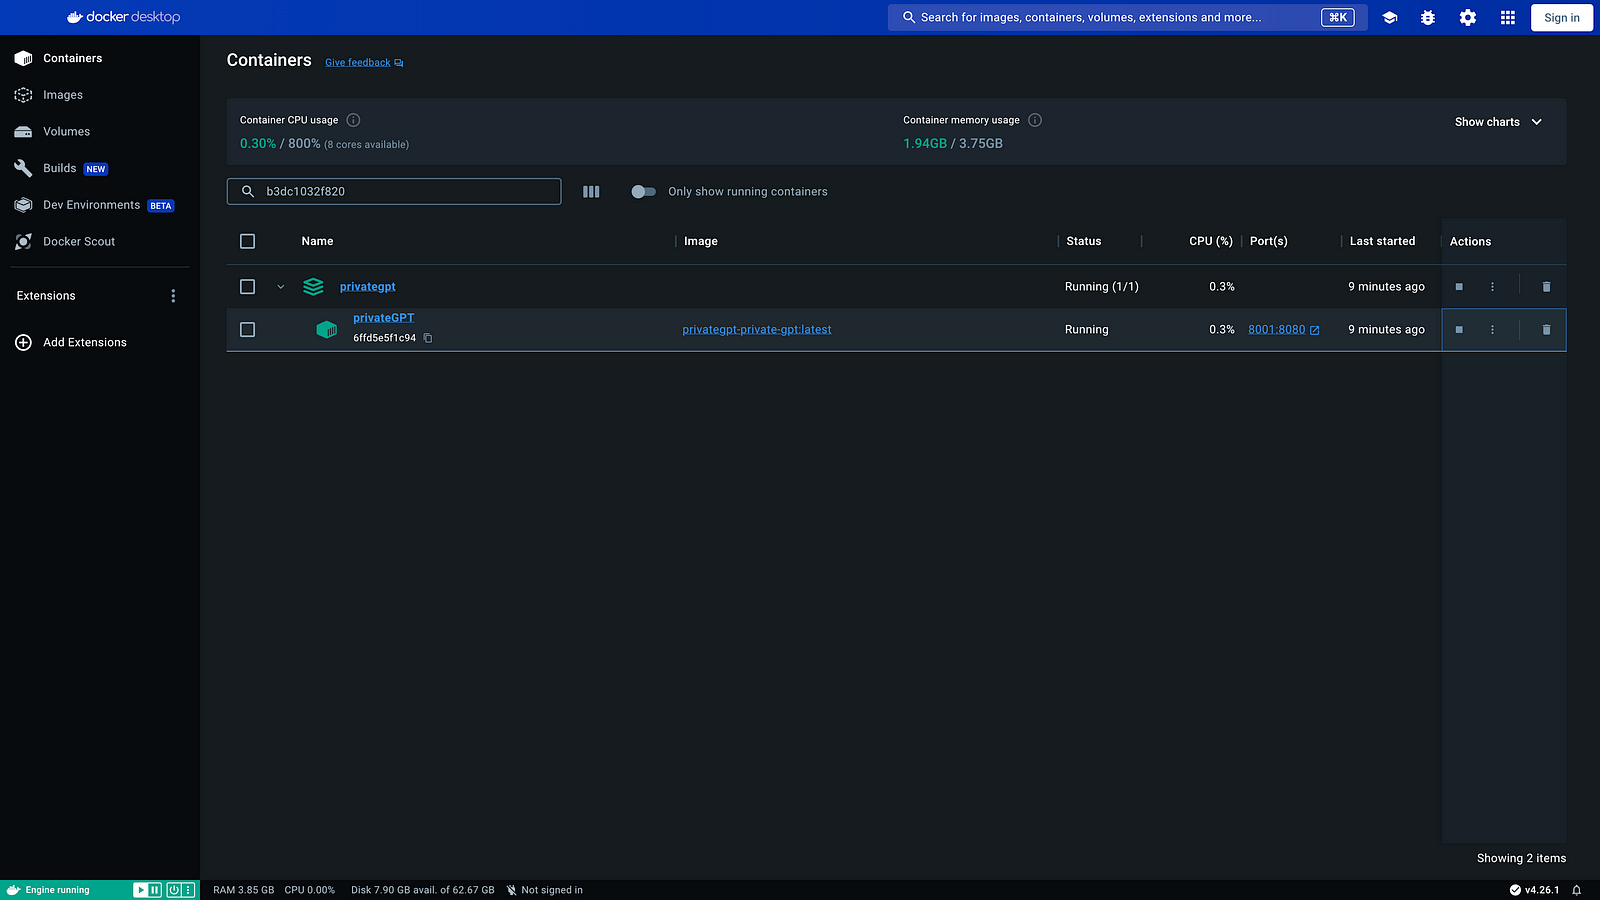
Step 03: Once Docker image is built, it will show in image list and it should be up and running, kindly note that you need to allocate sufficient memory to docker as shown in next step, you can browse the UI at https://localhost:8001
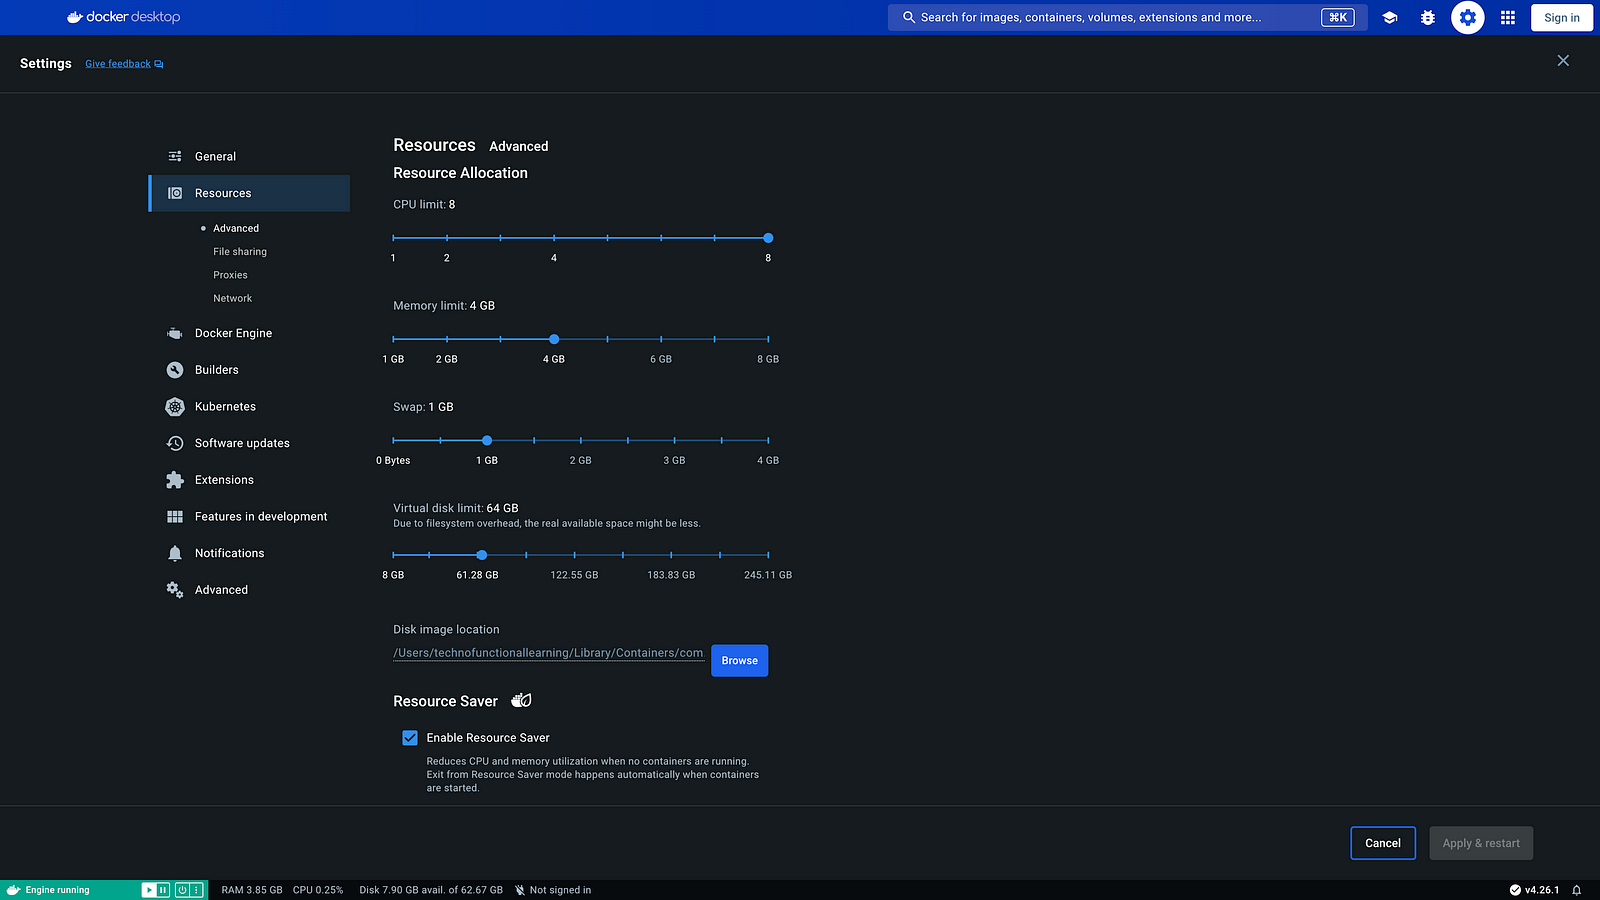
Step 04: In Setting section of docker, choose resources and allocate sufficient memory so that you can interact well with privateGPT chat and upload document so that it can summarize it for you without disconnection.
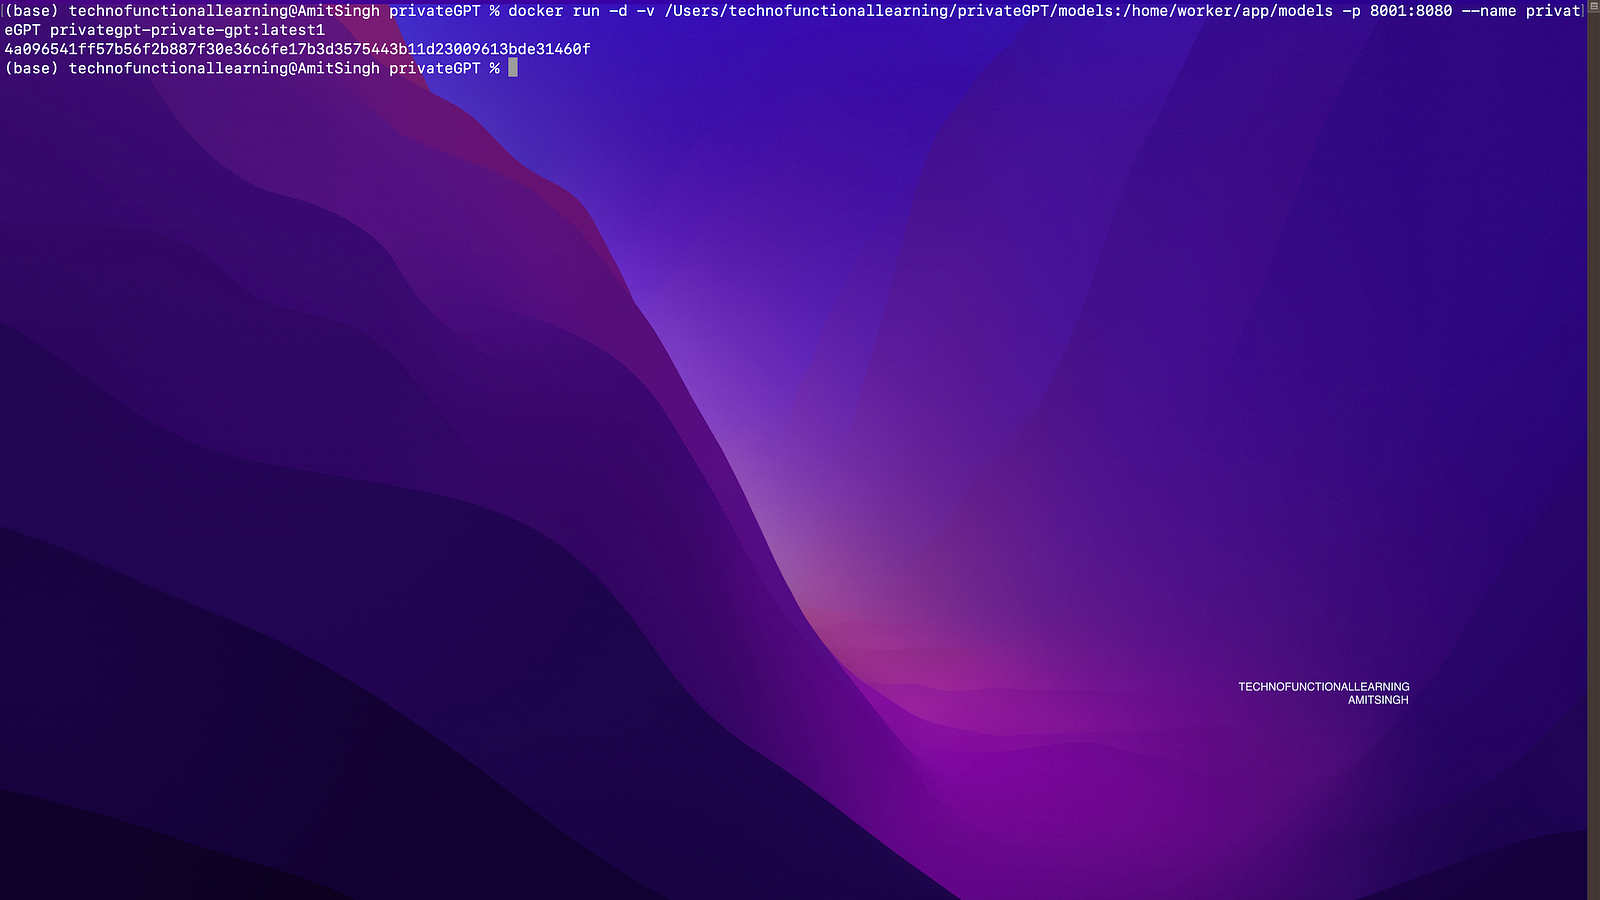
Step 05: if you need to restart the docker later on then you can use below command as shown in below screenshot, just change the path for models and image name as per your system.
docker run -d -v hostmodelspath:/home/worker/app/models -p 8001:8080 --name privateGPT yourdockerimagename
Step 06 : Once Image is up and running, you can check the log and visit the gradio UI at http://localhost:8001

Step 07: Now you can start chatting, or upload documents or search documents, choose appropriate option and run privateGPT, if you need to work with python or javascript API then you can click down below link in UI (user interface) just below addtional inputs section.

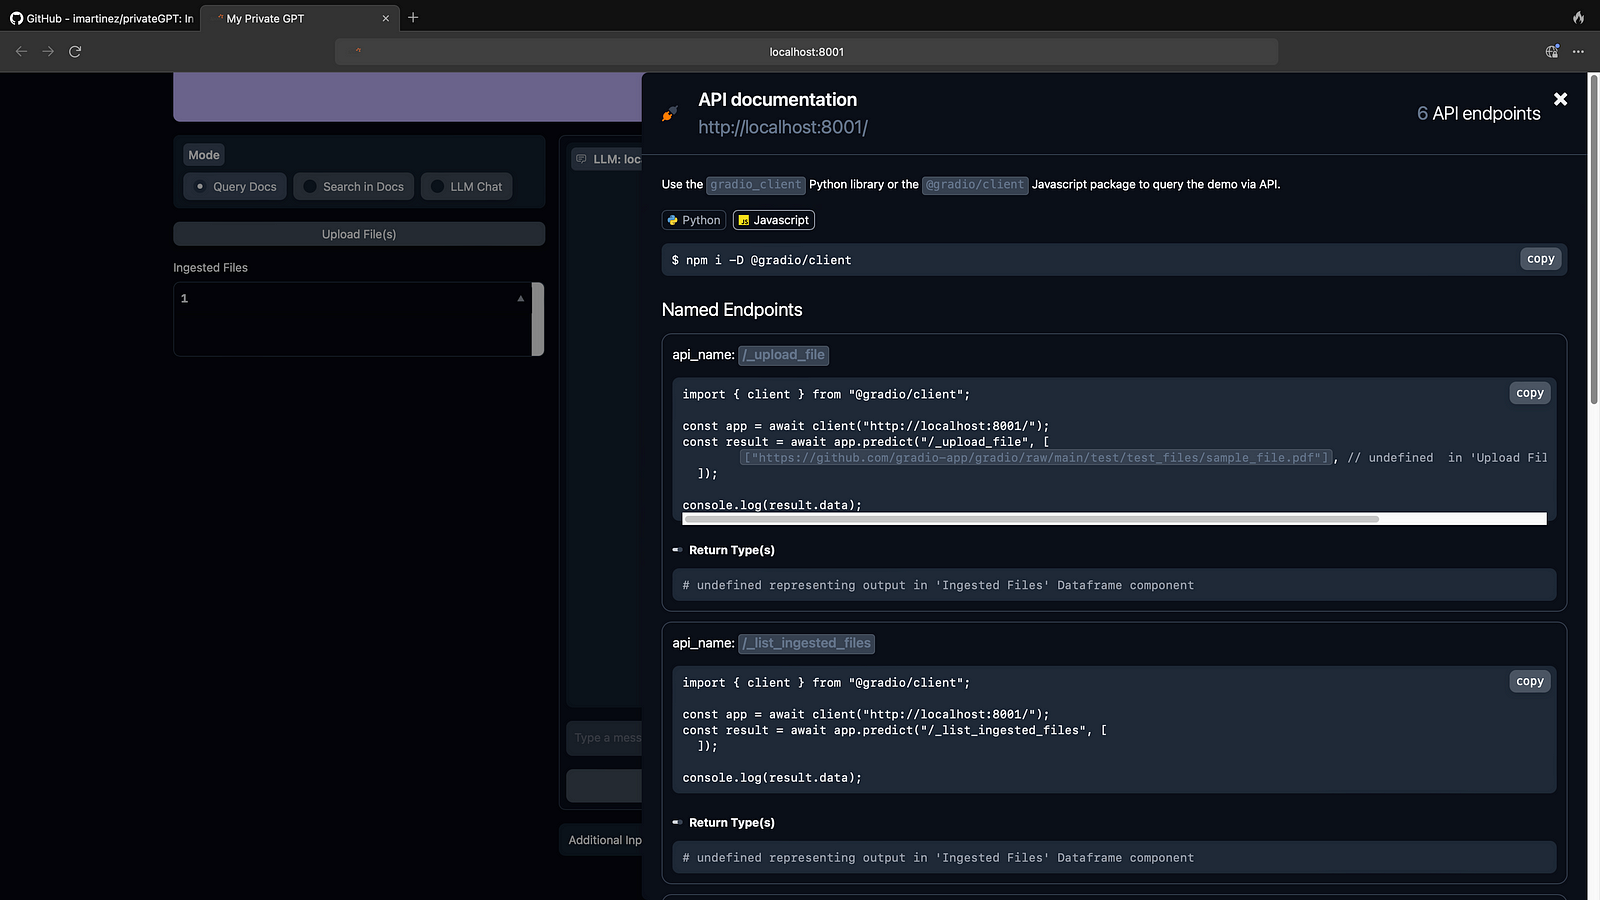
Step 08: Once you click API link, you should see screen like this, you can click on javascript to see next screen.

Step 09: Here is screen for javascript API
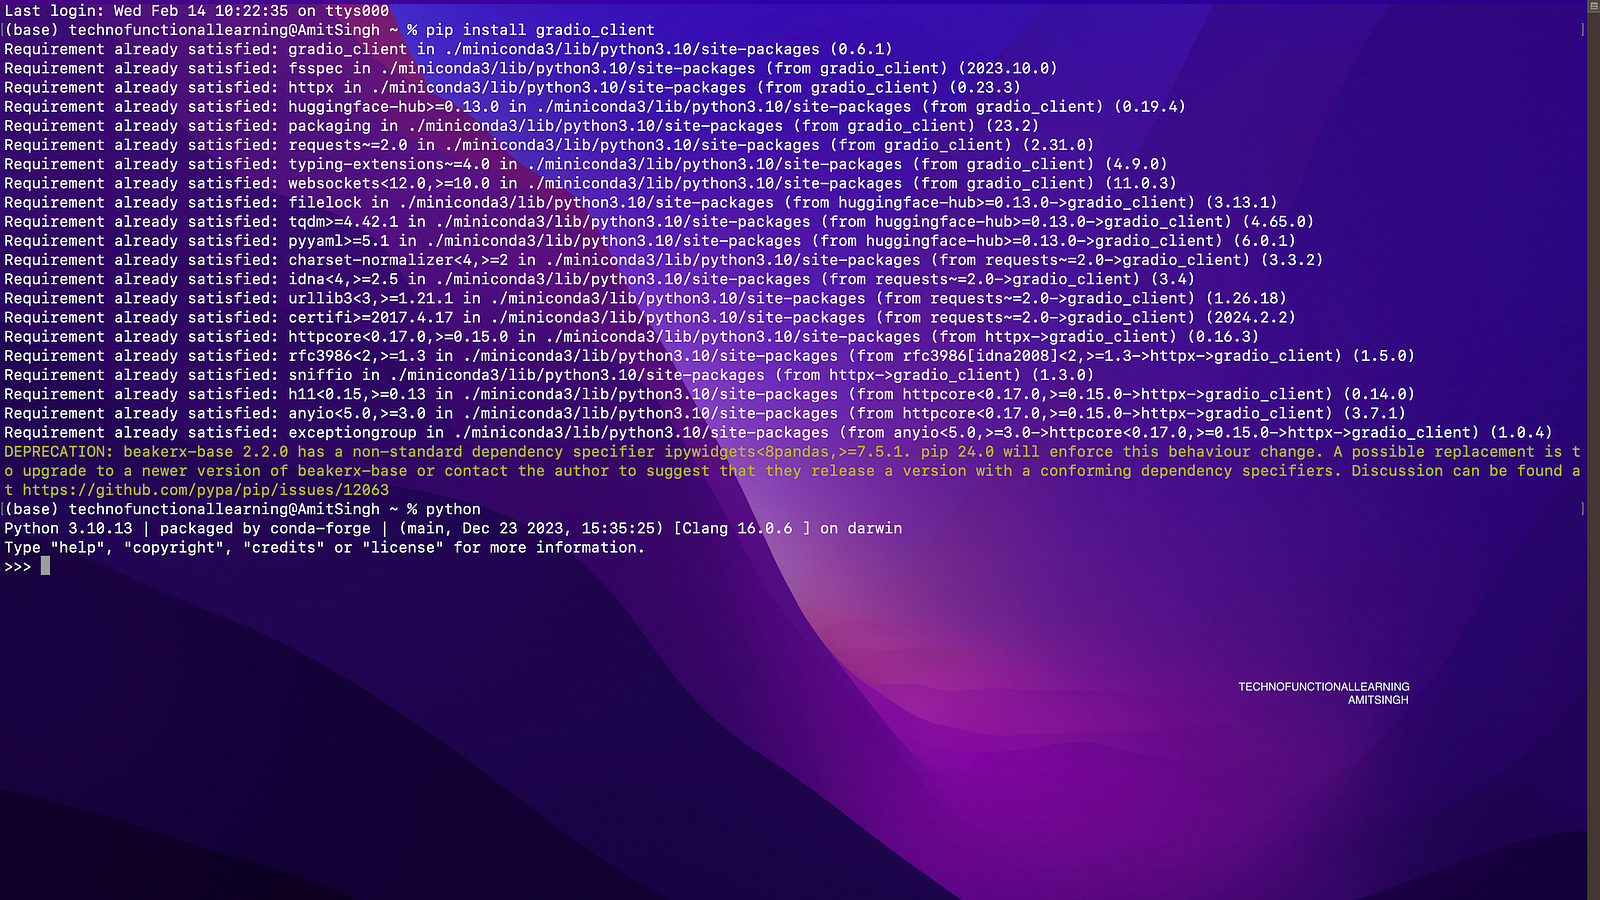
Step 10: Install gradio_client to interact with python API
pip install gradio_client
Step 11: To Interact with javascript api install @gradio/client javascript package with below command. If you do not have nodejs on MacOS then you can install from below link
Node.js
Node.js® is a JavaScript runtime built on Chrome’s V8 JavaScript engine.nodejs.org
npm i -D @gradio/client
