Learn to Connect Automatic1111 (Stable Diffusion Webui) with Open-Webui+Ollama+Stable Diffusion Prompt Generator, Once Connected then ask for Prompt and Click on Generate Image.
https://ollama.com/brxce/stable-diffusion-prompt-generator
brxce/stable-diffusion-prompt-generator is fine-tuned on 74k Stable Diffusion prompts to convert input to a stable diffusion prompt which can then be passed to a Stable Diffusion model to generate an image.
https://github.com/ollama/ollama
https://hub.docker.com/r/ollama/ollama
https://github.com/ollama/ollama-python
https://github.com/ollama/ollama-js
What is Open Webui?
https://github.com/open-webui/open-webui
User-friendly WebUI for LLMs
https://github.com/AUTOMATIC1111/stable-diffusion-webui
Stable Diffusion web UI
A web interface for Stable Diffusion, implemented using Gradio library.
How to Connect and Generate Prompts and Images.
**Kindly Note that in this article Open-Webui installed on localhost via nodejs and not with docker for performance reasons.
Before we proceed further, Make sure your stable diffusion webui, Open-webui, Ollama with Stable Diffusion Prompt Generator LLM is up and running( To enable API access run stable diffusion webui with below command.
./webui.sh --api --listen
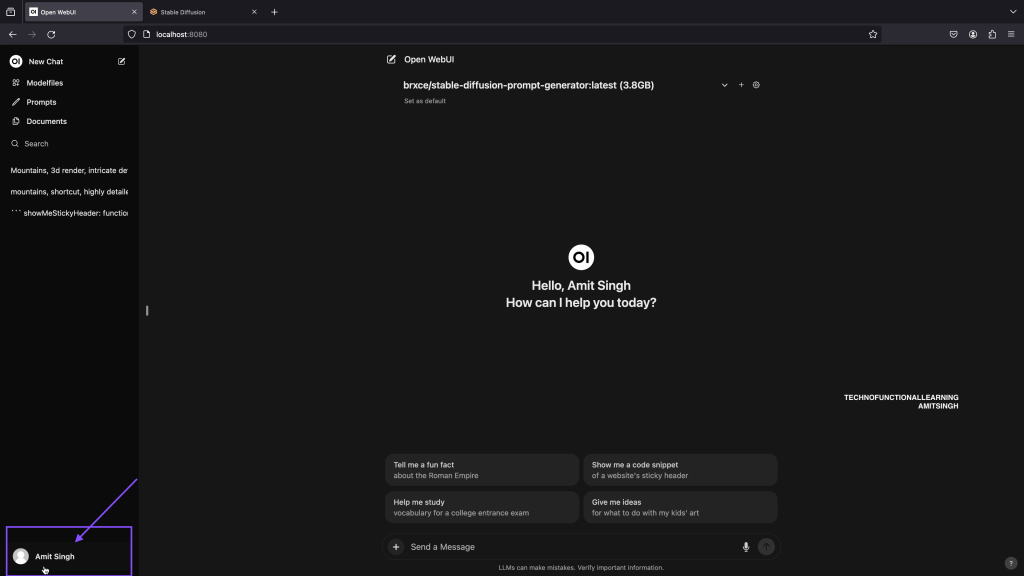
Step 01: Click and Select LLM: Stable diffusion Prompt Generator.

Step 02: Click on user Account to open settings.
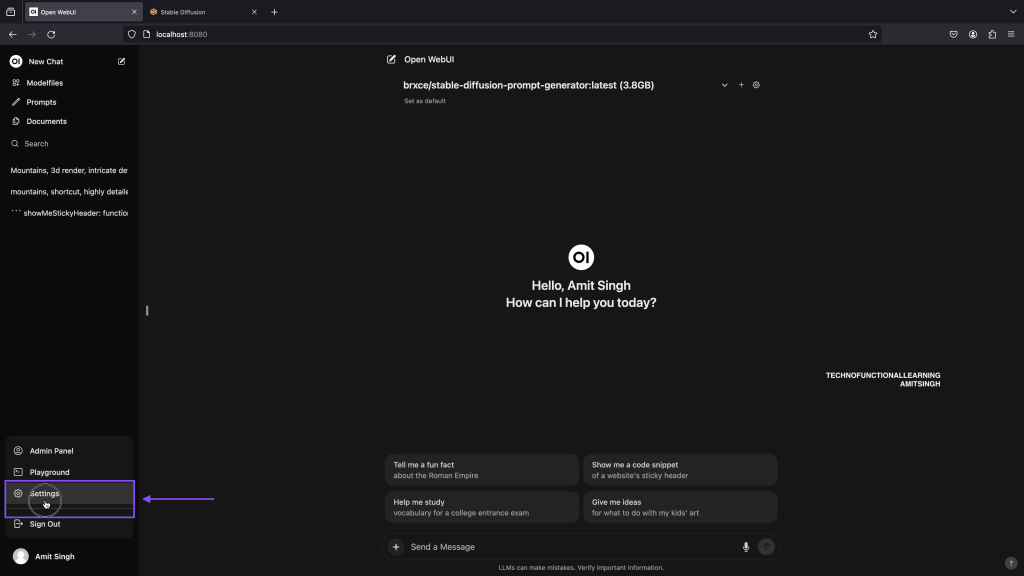
Step 03: Click on settings
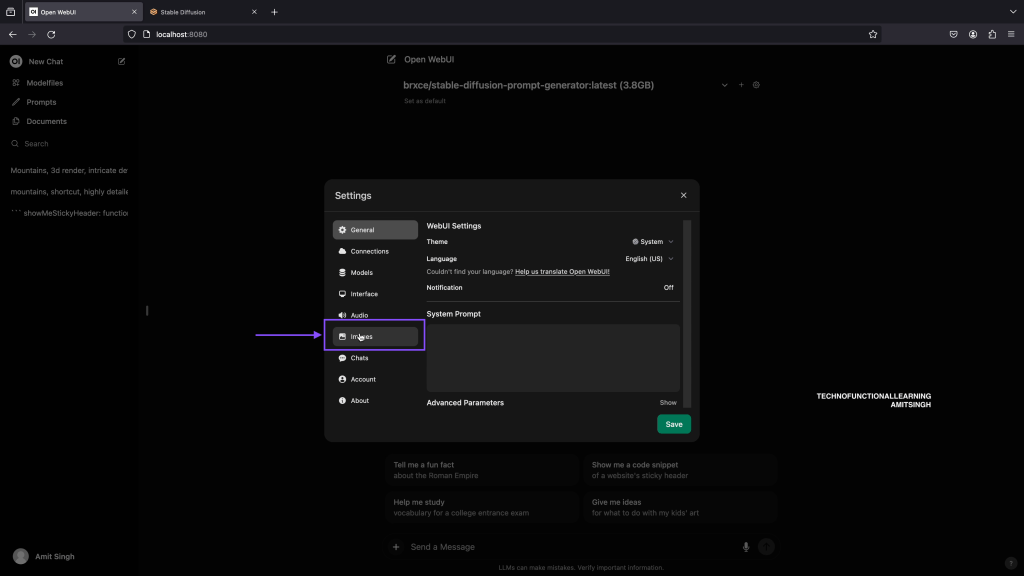
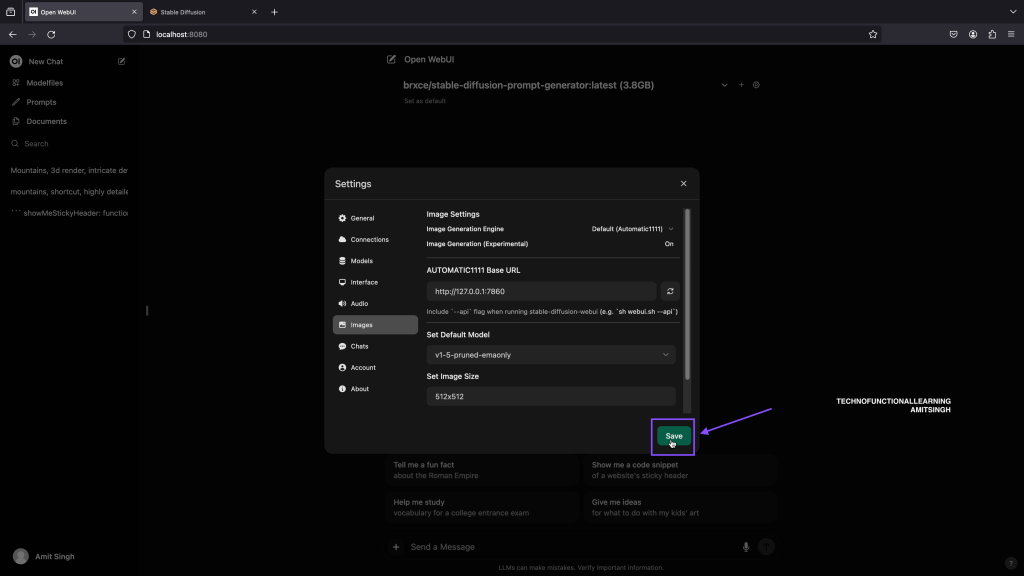
Step 04: Click on Images.
Step 05: Enter stable diffusion URL, by default it is http://localhost:7860 or you can enter http://127.0.0.1:7860

Step 06: Activate Image Generation feature
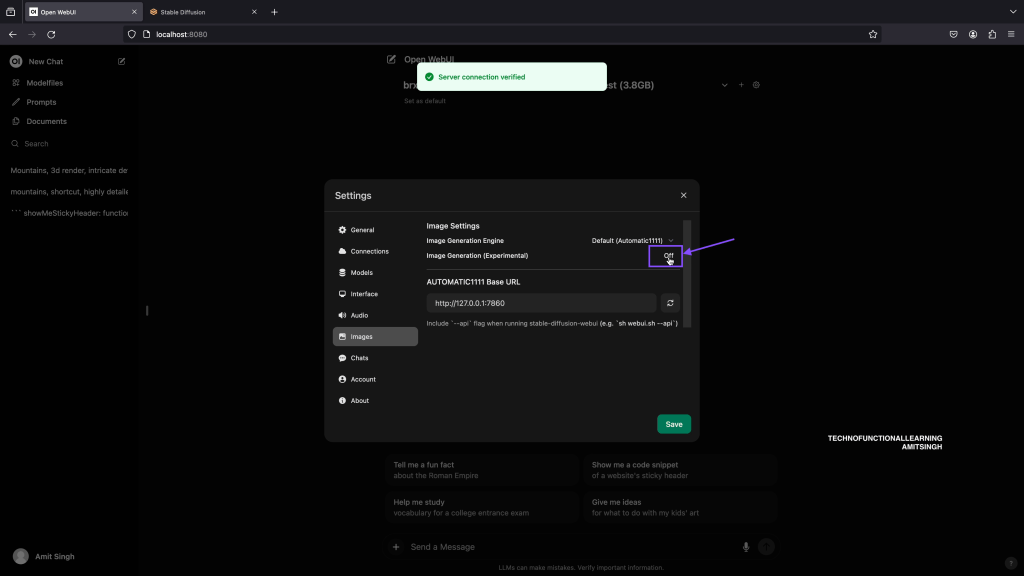
Step 07: System will choose default model, in case you are using multiple models then choose your preferred model and click on save.
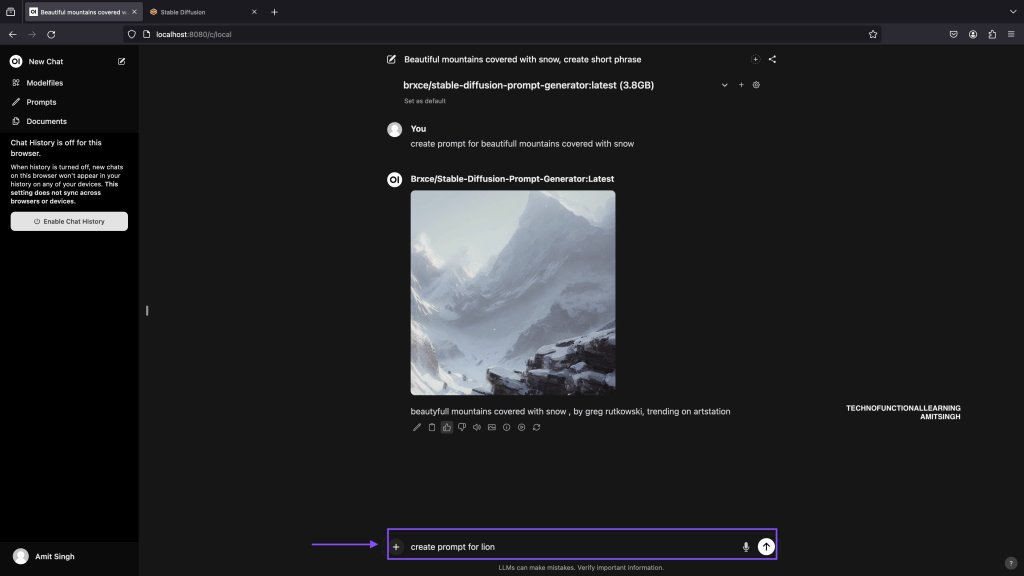
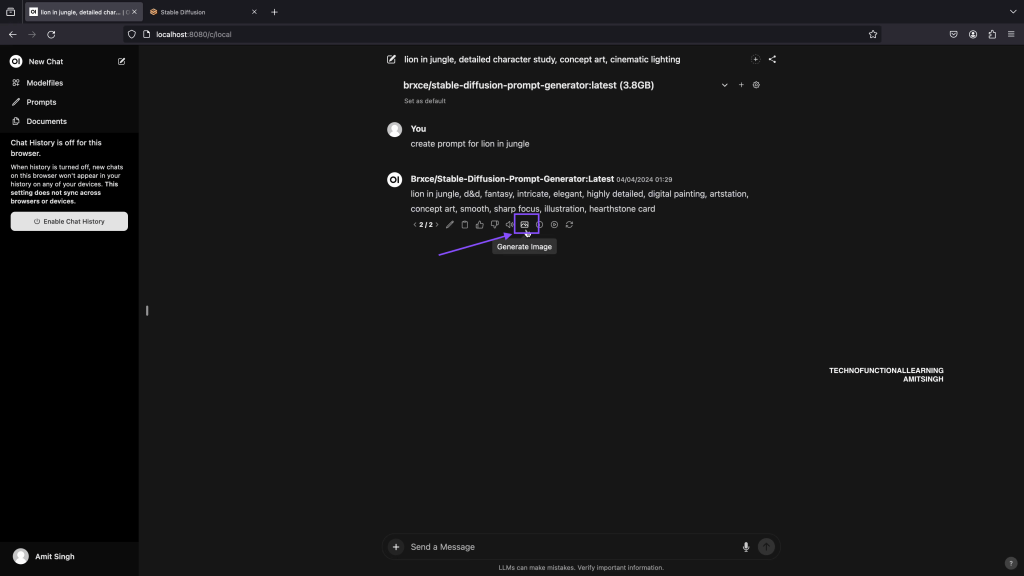
Step 08: Now ask LLM to generate prompt for you, Once it is generated then you can click below image icon to generate image.
Step 09: Now click on Image generation button to generate Image.
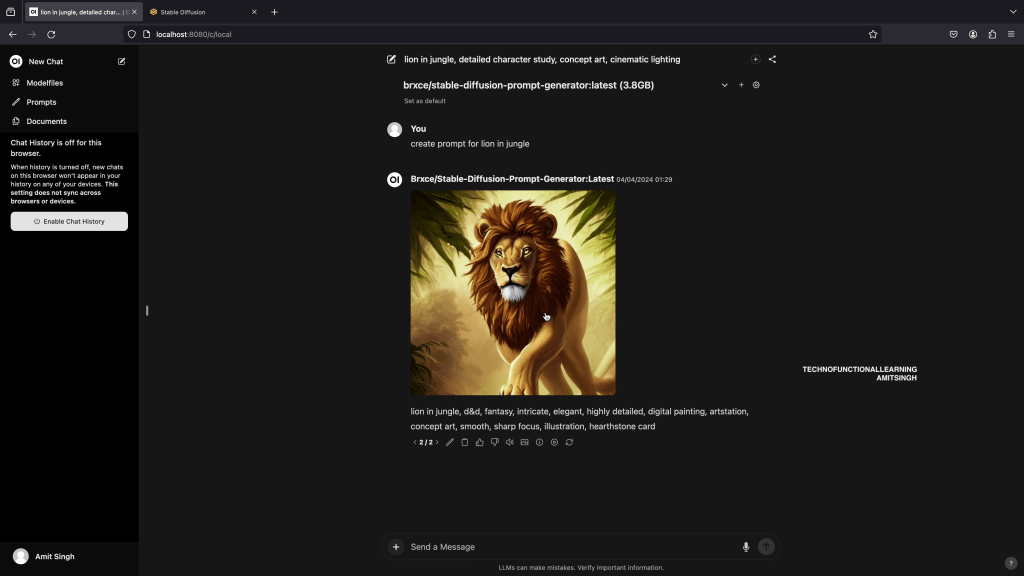
Step 10: Here is the result.
Here is the screencast for Visual presentation.

You must be logged in to post a comment.